Sliding monitor system
The sliding monitor is an interactive display, incorporating both linear movement and touchscreen inputs that can be applied in different contexts. The front monitor can be used as a method of "augmenting" the content on the backing screens, like displaying more information about an element or allowing a user to touch and manipulate it. The backing displays can provide a call to action for the user to move the screen and explore the content.

We all love the idea of a tactile physical experience while interacting with technology. If you can interact with content using a device in some way by physically moving your body, it naturally becomes more engaging and satisfying. Our goal is to make these types of interactions fun and memorable.

We are not the first ones to come up with this concept by any means, but we have fun figuring out our own methods and engineering a working system. The Sliding Monitor touch screen technology is such a fun way to interact with content to tell a story or reveal some hidden magic in content. Our first attempt at this was about 10 years ago. We had a pile of 8020 slotted rail lying around, just waiting to be used on some new experience, along with many types of sensors and electronics, Arduinos, etc.

Mark I Prototype
Our plan was to design a sliding touchscreen monitor in landscape mode that would slide over 3 other monitors in the background, so the front touchscreen could act as an X-Ray machine or a timeline scrollwheel to showcase content in an unexpected display. This would force the guest to engage with the technology to discover what it could do. By touching the screen, the user could dive into more content choices or find out more info about the background visuals.

Engineering and Design
The first thing we did was sketch out our designs, and build the framework to support the sliding touchscreen. Knowing that our slotted rail would be full adaptable and flexible we stuck with this for the main framework and built a self-standing kiosk/table system to support the structure.
Slider: After several attempts at a sliding system with slotted rail, this proved not to work well as it had too much friction. The second method was to use a ball-bearing on a 10' shaft. We stuck with this method for awhile, although it was considerably noisy. It was very reliable and smooth, besides the noise.

Mark II Prototype
Sensors: To track movement across the linear sliding path, we attempted to use multi-turn potentiometers, but even with gearing them down, we could not get enough turns for the 10' sliding distance. We attached a wheel to the pot and had it tracking well by sliding it on the back of the monitor as it moved. We later updated it with rotary encoders. The biggest challenge here was how to zero the system on startup. Not knowing anything about EEPROMS at the time, we designed a very simple homing system based on a microswitch at one end of the slider. Because the system would love pulses at times if run too fast, simple sliding the monitor all the way to the right and triggering the microswitch would put the system back to a home position, so it knew where it was.

This was inspired by our CNC machine and our experience with motion control systems. It is vital for the system to know where it is at all times.Our recent sliding monitor systems use Bourns rotary encoders with EEPROMS that we can continually update for positioning. Whenever the system is restarted or loses power, it will reboot and know exactly where it is. Also the Bourns encoders are incredibly high resolution and perfect for our needs.

Cable management: The older systems were not designed to be pretty, just functional. While working through functionality issues, we didn't care if we could see the wiring or not. But we still had to manage the cabling, so it didn't get hung up by the sliding mechanisms. Again, using our CNC as a refence, we purchased snake-like cable management chains which hid the cabling and kept it under control at all times.
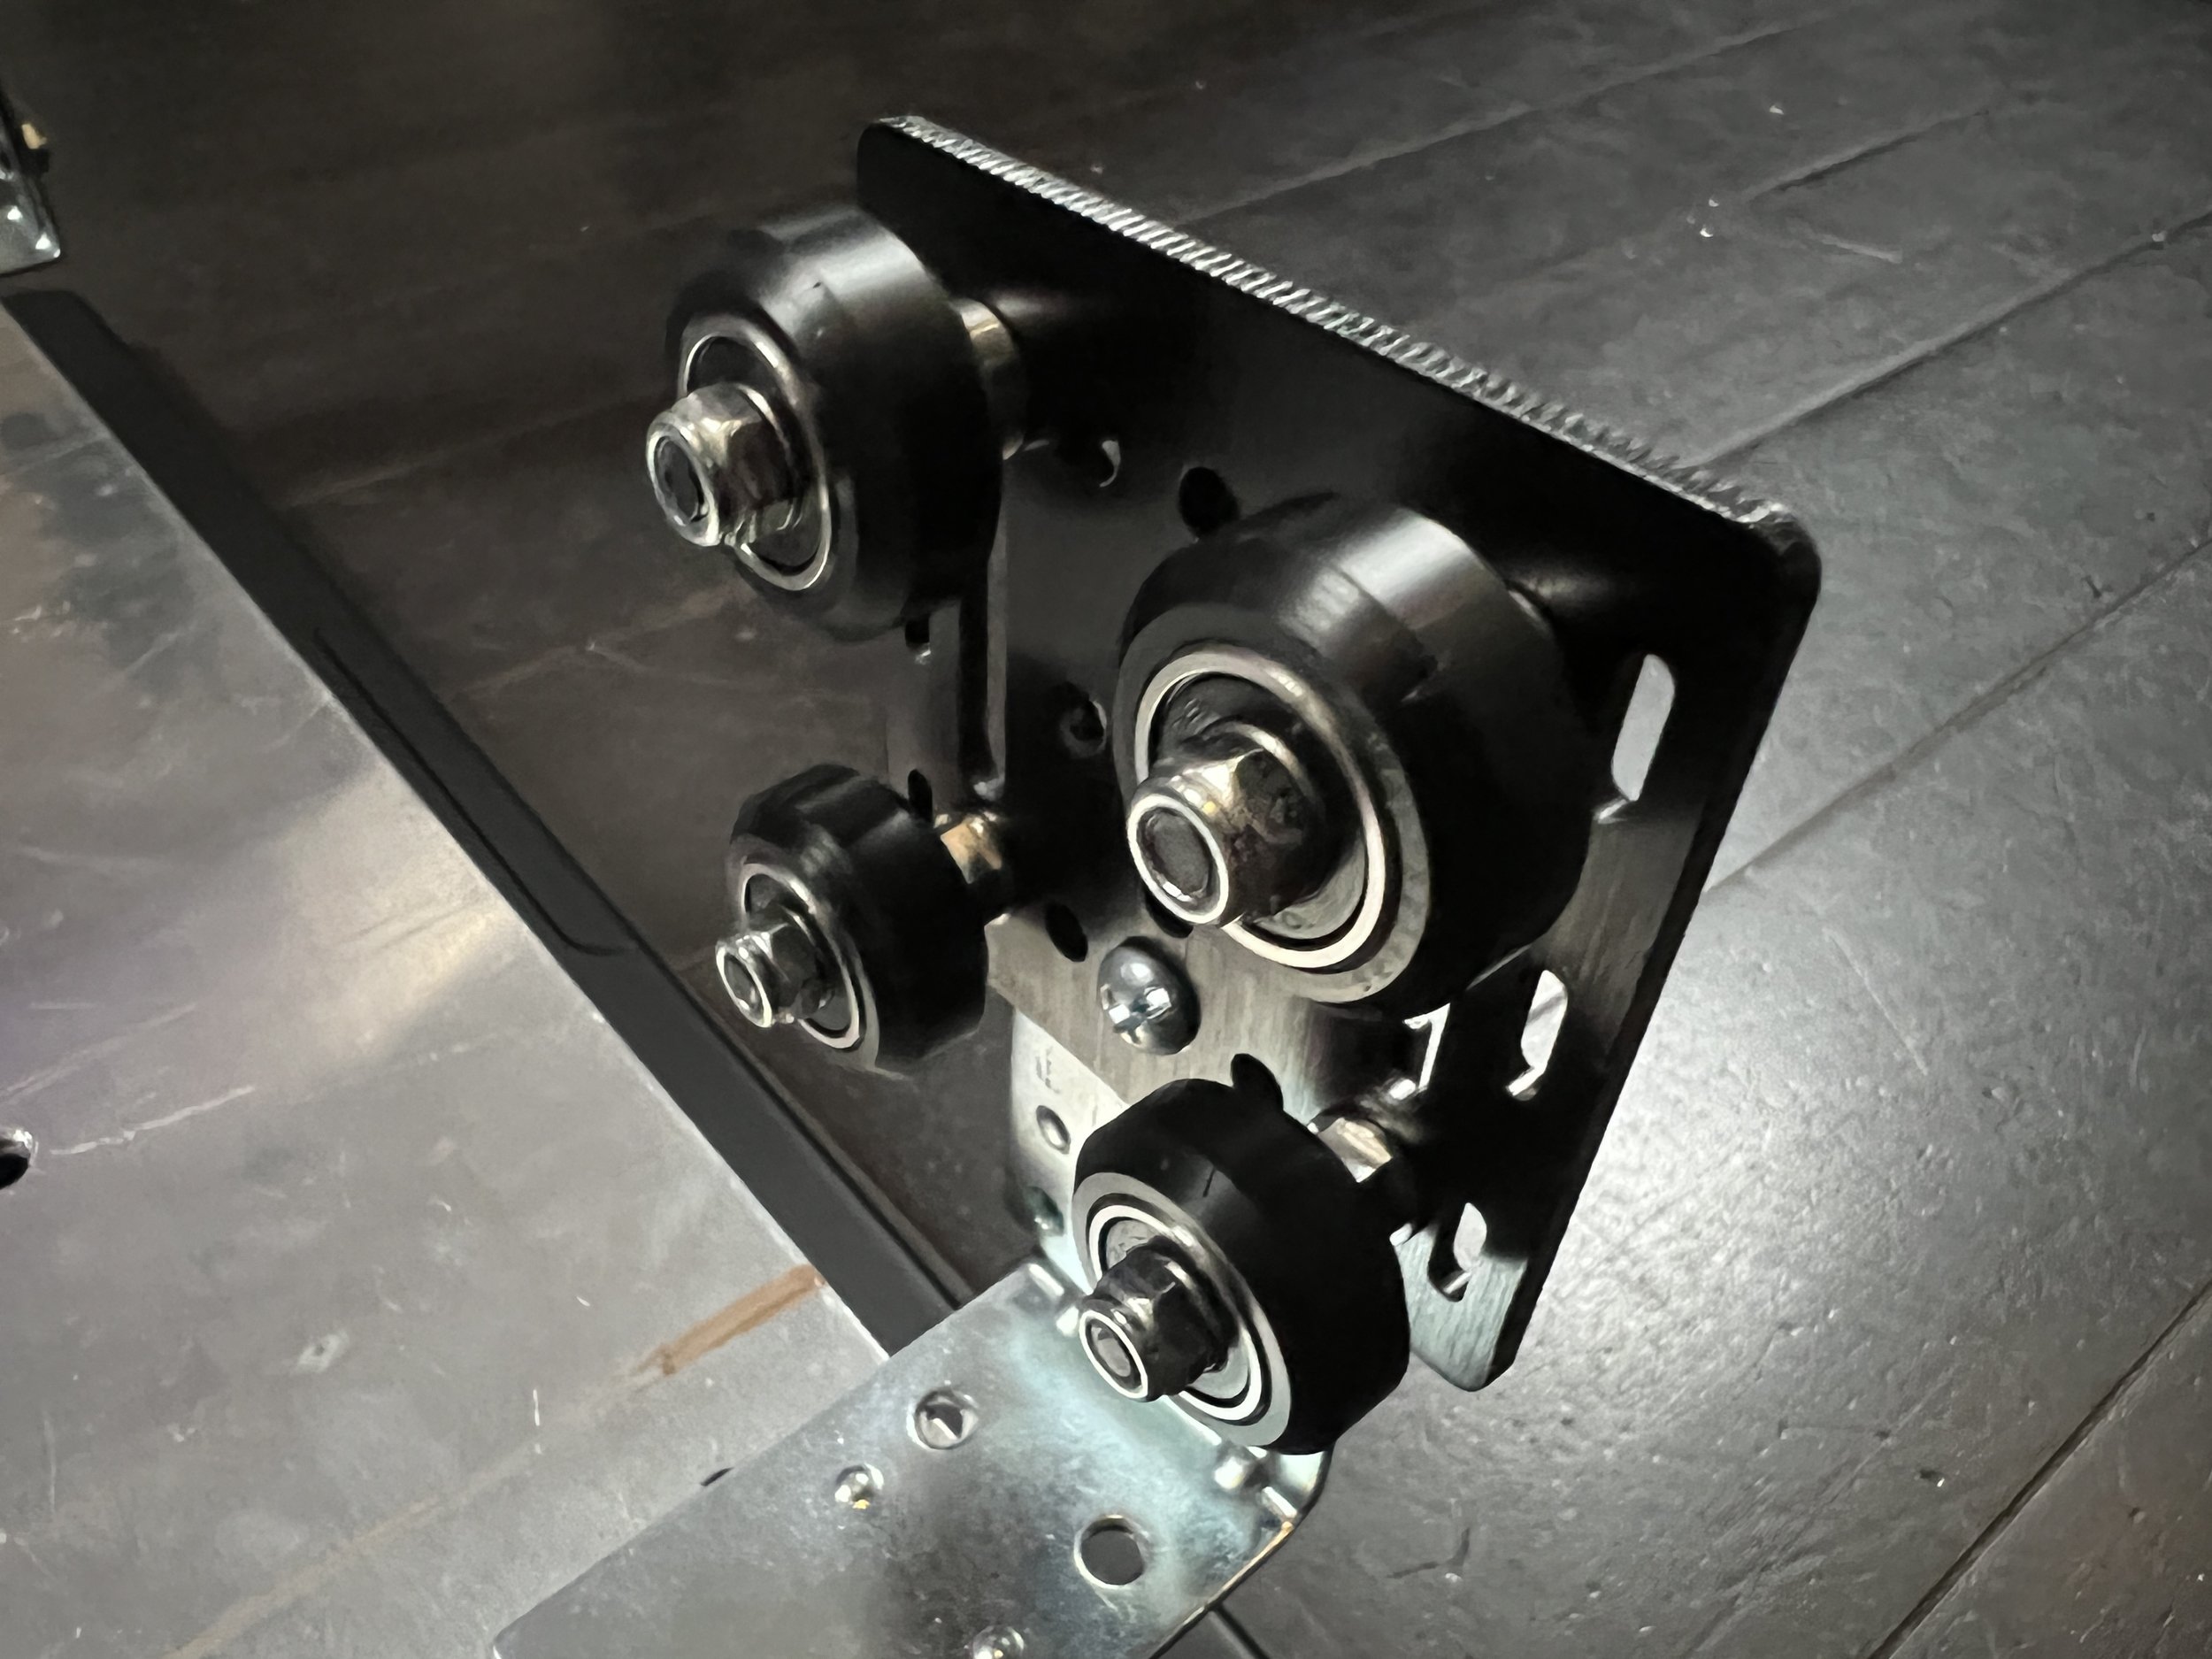
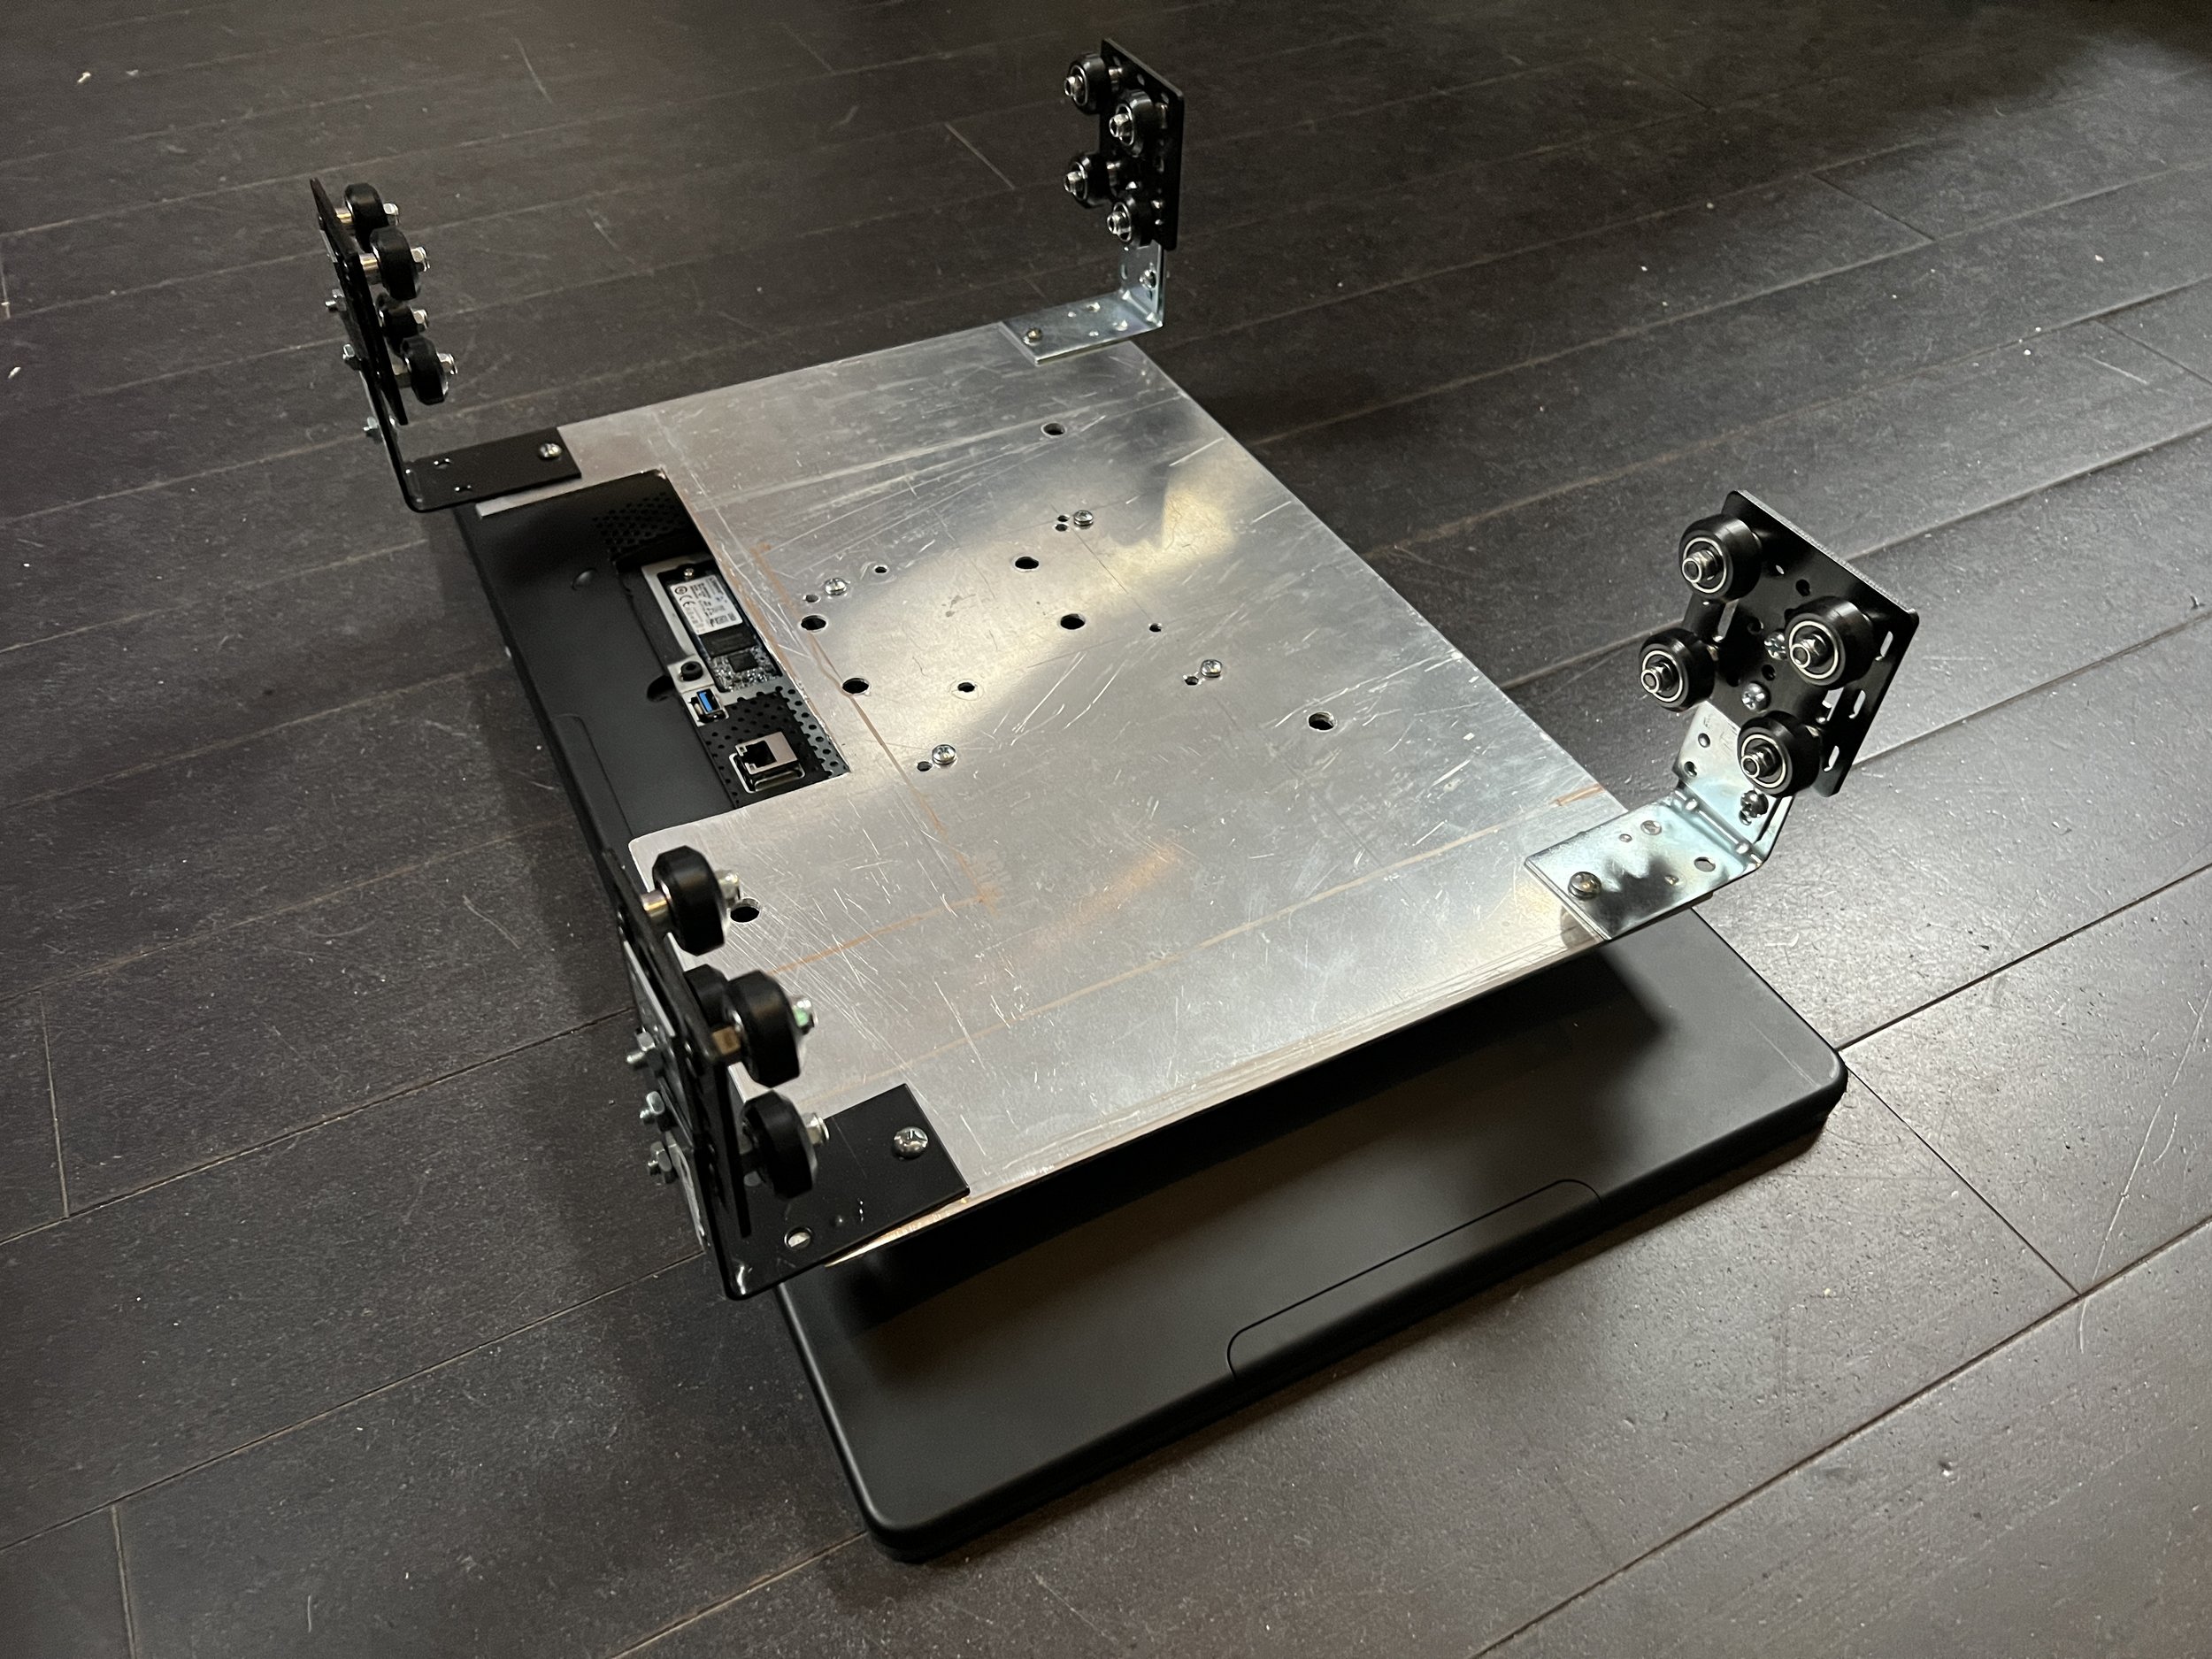
Final Cleanup: For pro-level installations, we design outer shells around the displays to hide the mechanisms and cabling. For very recent installations, we designed a newer sliding system based on OpenBuilds.com parts, using V-Rail. It's more stable and easier to work with than our previous 8020 designs and we are now hiding all of the sliding mechanism behind the displays.
Authors: Mike Wszalek and Brian Dressel